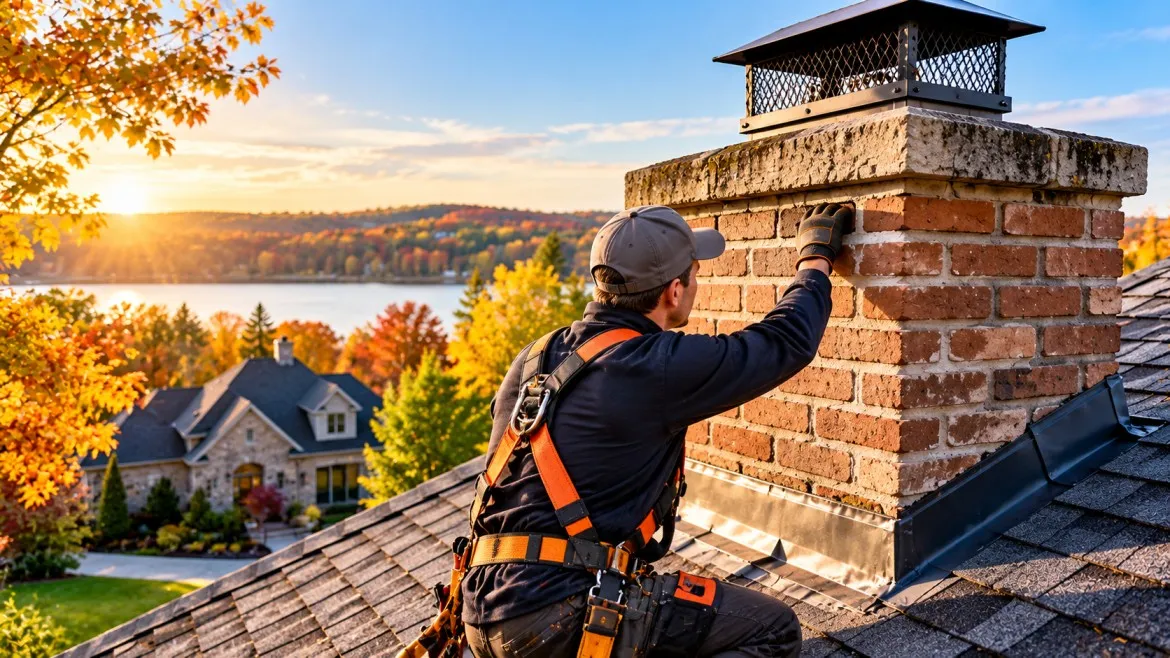
As autumn brings cooler evening temperatures, homeowners across the region look forward to lighting the first fire of the season. A wood-burning fireplace provides warmth, ambiance, and a cozy focal point for living spaces during cold weather. However, a chimney that has sat dormant throughout the spring and summer months should never be operated without a thorough preliminary evaluation.
Over months of disuse, flues can harbor unseen obstructions, animal nests, structural deterioration, or flammable creosote deposits left over from previous heating seasons. Conducting systematic pre-season checks verifies that exhaust pathways are clear, masonry components are sound, and smoke can safely vent outside the home without threatening indoor safety or air quality.
Understanding Chimney Hazards and Idle Deterioration
While a fireplace appears simple, a venting chimney is a complex thermal draft system designed to safely channel toxic gases, intense heat, and combustion particulates out of the home. During warm weather, chimneys are subject to environmental wear even when not in use.
Dormant Spring/Summer Period --> Environmental Exposure & Animal Entry --> Obstructions & Creosote Creep --> First Fire Ignition Hazards
Rainwater, windblown debris, and humidity cause gradual wear to masonry and metal flues. Unprotected chimney tops frequently attract birds, squirrels, and raccoons seeking quiet nesting spots. Furthermore, residual creosote inside uncleaned flues absorbs atmospheric moisture during summer, creating acidic compounds that erode clay tile liners and mortar joints.
| Seasonal Factor | Physical Impact on Chimney Flue | Potential Fire Hazard or Operational Risk |
|---|---|---|
| Summertime Animal Nesting | Twigs, leaves, and mud block the flue passageway | Causes severe smoke spillage and carbon monoxide backup into living spaces |
| Water Intrusion & Freeze-Thaw | Mortar joints crack; clay flue tiles spall and break | Heat escapes into surrounding wooden wall framing, risking structural fires |
| Moisture & Creosote Reaction | Creosote absorbs moisture, expanding into glaze | Highly flammable creosote ignites easily when exposed to direct flames |
| Rusted Damper Assemblies | Metal plates warp, rust, or jam in closed/open states | Prevents proper draft control and leads to energy loss or indoor smoke rollout |
Essential Steps for Pre-Season Chimney Evaluation
A complete pre-season evaluation involves examining both external structures and internal flue components before lighting the first match of the season.
1. External Structure and Masonry Check
Inspect the exterior chimney stack from ground level or a safe viewing distance. Look for leaning brickwork, crumbling mortar joints, or cracked chimney crowns at the top of the stack. Check that the metal flashing around the roofline is secure and watertight, preventing rain from leaking down into attic spaces or ceiling joists.
2. Chimney Cap and Spark Arrestor Inspection
Verify that a sturdy, stainless steel chimney cap equipped with a mesh spark arrestor screen is securely attached to the top of the flue. The cap acts as a barrier against rain, falling autumn leaves, and nesting wildlife, while the wire mesh prevents hot embers from landing on flammable roof shingles or dry yard foliage.
3. Firebox, Hearth, and Damper Operation
Inside the home, open the glass doors or fire screen and clear away old ash using an ash vacuum or damp cloth. Inspect the firebrick lining inside the firebox for deep cracks or missing mortar. Test the throat damper mechanism by opening and closing it completely to confirm the metal plate moves smoothly and seals tightly when closed.
4. Flue Draft and Obstruction Verification
Before lighting a full fire, verify that the chimney is drafting correctly. Open the damper fully, shine a bright flashlight up into the flue, and check for hanging creosote glaze, bird nests, or fallen brick pieces. Holding a lighted match or small roll of burning newspaper inside the firebox allows you to observe whether smoke is pulled upward into the flue or pushed backward into the room due to cold air blockages.
Levels of Chimney Assessment Explained
While visual checks provide basic safety feedback, internal flues contain concealed sections that require specialized optical tools to evaluate thoroughly. The National Fire Protection Association (NFPA) categorizes chimney evaluations into three distinct levels:
| Evaluation Level | Scope of Work | Recommended Timing or Trigger |
|---|---|---|
| Level 1 Assessment | Visual check of readily accessible flue areas, hearth, and damper | Annual routine maintenance when no system changes have occurred |
| Level 2 Assessment | Video scanning of internal flue walls, attic access, and crawlspace checks | Required upon buying a home, after a chimney fire, or changing heating fuel |
| Level 3 Assessment | Removal of building components (drywall, crown) to expose hidden areas | Triggered when severe structural damage or hidden hazards are suspected |
Arranging professional chimney inspection services ensures that certified technicians can utilize specialized camera equipment to examine the entire length of the internal tile or stainless steel liner, identifying fine hairline cracks, missing mortar joints, or dangerous stage-three creosote deposits that cannot be seen from the firebox.
Creosote Stages and Ignition Risks
Creosote is a natural byproduct of burning wood that accumulates along cold flue walls. Understanding its different physical forms highlights the importance of regular removal:
| Creosote Stage | Physical Characteristics | Removal Complexity |
|---|---|---|
| Stage 1 (Flaky/Sooty) | Loose, black powdery dust or light flaky residue | Easily swept away using standard wire chimney brushes during routine servicing |
| Stage 2 (Crunchy/Tar-Like) | Hardened black flakes or crisp, porous tar bubbles | Requires specialized mechanical rotary whips or scraping tools to dislodge |
| Stage 3 (Glazed/Hard) | Shiny, hardened black glaze dripping down flue tiles | Highly flammable; requires chemical treatment or specialized power tools to remove |
If Stage 3 creosote ignites, temperatures inside the flue can exceed 2,000 degrees Fahrenheit, cracking clay tiles, melting metal liners, and rapidly spreading fire into home wall cavities.
Practical Pre-First-Fire Checklist
To ensure a safe and enjoyable fire, follow this practical pre-season checklist:
- Clear the Area: Maintain a three-foot safety zone around the hearth, removing rugs, holiday decorations, and flammable furniture.
- Test Carbon Monoxide & Smoke Detectors: Verify that detectors on every level of the home are equipped with fresh batteries and functioning properly.
- Burn Seasoned Hardwoods Only: Use dry, well-seasoned woods like oak, maple, or hickory that have dried for at least six to twelve months. Avoid burning green wood, trash, or pressure-treated lumber.
- Confirm Damper Position: Always double-check that the damper is fully locked in the open position before lighting firewood.
- Keep a Fire Extinguisher Nearby: Ensure an operational Class A fire extinguisher is easily accessible near the fireplace area.
Enjoying a Safe Heating Season
Taking the time to conduct thorough pre-season checks protects your home and family from preventable heating hazards. By identifying flue obstructions, verifying damper operation, clearing creosote buildup, and scheduling regular assessments, homeowners can enjoy the warmth and comfort of a cozy fire with complete peace of mind throughout the winter months.